Prepare and maintain adjustments on a spreadsheet over a period and upload them all at once, instead of processing a separate ADD ADJUSTMENT transaction for each. An upload adjustment file can be for Earning (+) and/or deduction (:) adjustments and can include transactions for route and/or BPID.

Two key preparation steps for successful adjustment uploads:
1. Adherence to the exact file structure and headers, which emulate ADD ADJUSTMENT fields.
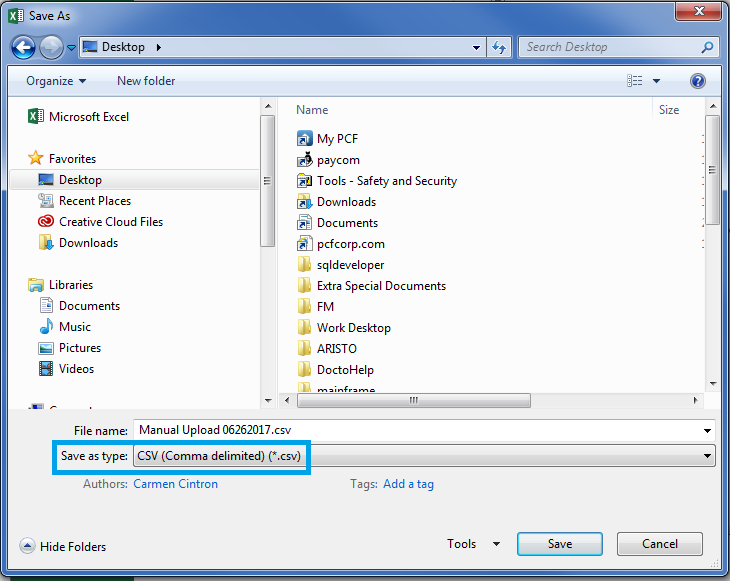
2. The file must be in CSV (Comma Separated Values) format.
Prepare the file following exact structure and headers
File can be created in Excel and saved later in the proper format.
Each cell across the first row of each upload file must consistently have the following headers as shown:
|
CELL |
HEADER |
DATA ENTRY |
HINTS: |
|
A1 |
AdjustmentType |
DSP OR Route |
Pays the person or the route |
|
B1 |
Route |
Enter Route # |
Leave blank if DSP adjustment |
|
C1 |
DSP |
Enter DSP BPID# |
Leave blank if Route adjustment |
|
D1 |
AdjustmentFrequency |
One Time, Daily, Weekly, Bi-weekly, OR Day of the Week |
|
|
E1 |
EarningDeduction |
Earning OR Deduction |
Determines if amount is (+) or (:) |
|
F1 |
AdjustmentReason |
Enter reason text |
Seen on carrier statement |
|
G1 |
ValidFrom |
MM/DD/YEAR |
From must be date in current period |
|
H1 |
ValidTo |
MM/DD/YEAR |
One Time adjustments have same from and to date; enter 12/31/2999 for everlasting adjustments |
|
I1 |
Mon |
Enter 1 under each applicable day, if frequency is Day of the week. |
|
|
J1 |
Tue |
| |
|
K1 |
Wed |
| |
|
L1 |
Thu |
| |
|
M1 |
Fri |
| |
|
N1 |
Sat |
| |
|
O1 |
Sun |
| |
|
P1 |
Amount |
Enter amount of adjustment |
Only numbers, no $ or (+) or (:) |
|
Q1 |
Comment |
Enter text for your reference |
|
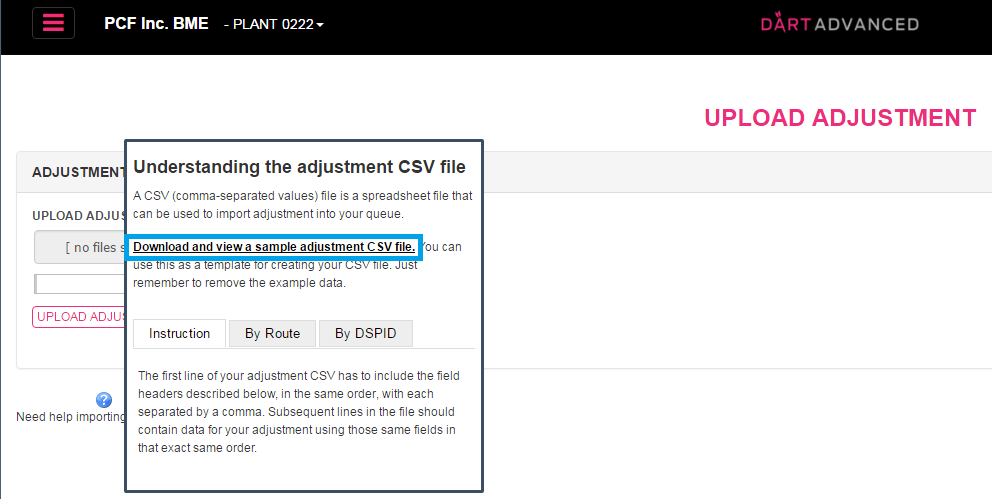
A preformatted CSV template file, with example data, can be found by hovering your cursor over the “Need Help Importing Adjustment?” section on the bottom left of the Upload Adjustment screen. Access the template by clicking Download and view a sample adjustment CSV file on the pop up window.
Simply do a SAVE AS, name and store the CSV file as you see fit.
Don’t forget to delete the two rows of sample data before finishing your spreadsheet.

Template has the required headers already set up and sample DSP and Route entries as a guide.

Save the file in CSV format.


When the CSV file is ready, upload the adjustment file:
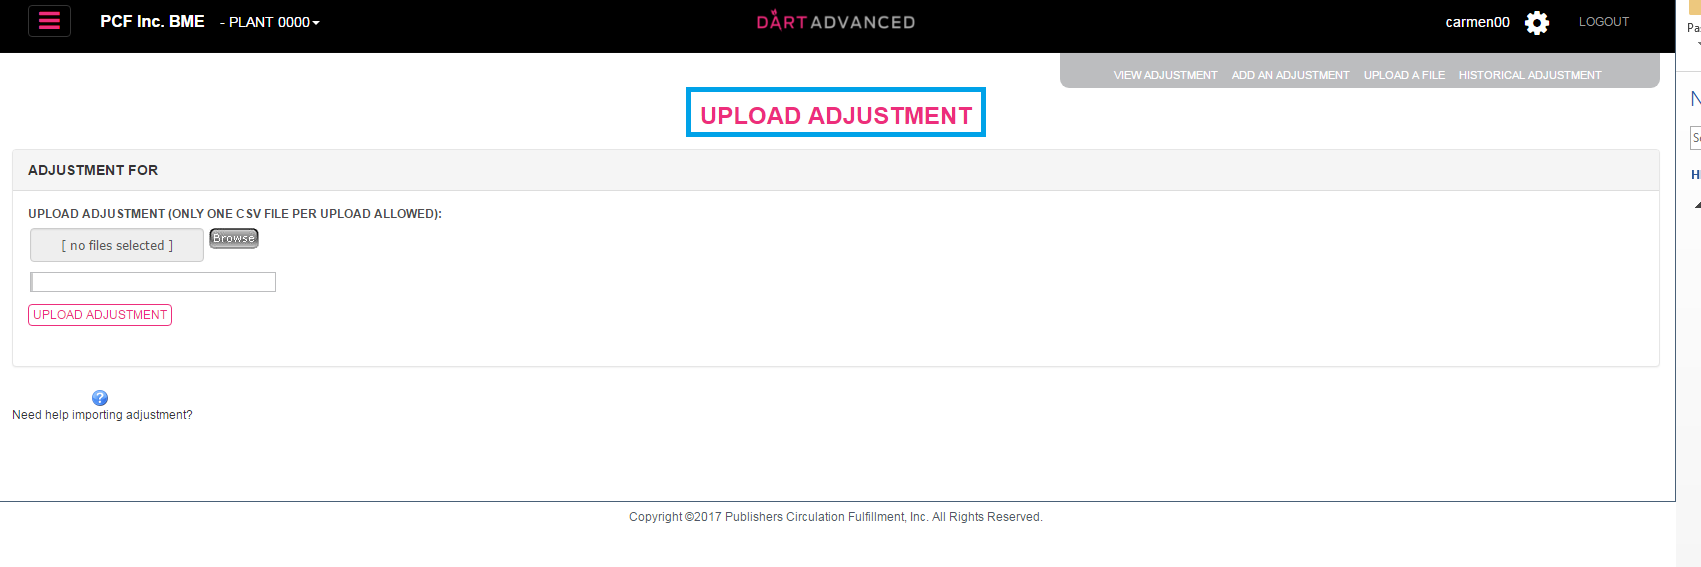
Use the BROWSE button to locate and attach the file. When attached it will indicate one file selected and the file size. Hover the cursor over one file selected, to reveal and verify the file name. If you attached the wrong file or want to start over, click the red x on the upper left corner of the file selection area.
When the correct file is selected, click UPLOAD ADJUSTMENT.

ERRORS
When a file has errors, only the RESET button is active, the other buttons are grayed out.
Hover the cursor over the highlighted Transaction ID for a pop up with error information.
The file must be corrected and uploaded again.
Click RESET to remove the file with errors and upload the revised version.

When the file is correct and uploaded successfully, there will be no red highlights. Click the highlighted SUBMIT ADJUSTMENT button.

You will receive confirmation either Upload another adjustment or VIEW the scheduled adjustment.
