Go to Route MGT/Sequencing/Sequences.
The sequencing section allows you to put each subscriber in the delivery order of your choosing. The order will be reflected on some reports.
Examples
Route Books
Active sub list sequence order
Labels sequence order
ETC
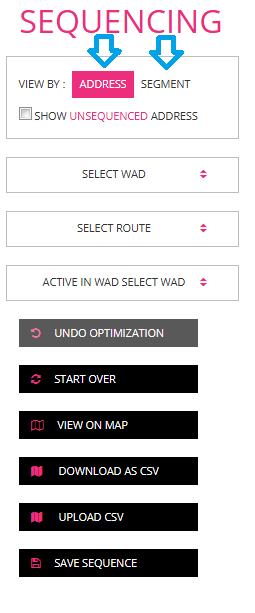
Sequencing lay out and functionality:
First, you’ll need to decide if you’re going to sequence the route by Address or by Street Segment. Sequencing by address will show you all of the addresses on a route. Sequencing by segment will allow you to arrange street segments in a particular order as well as the house addresses within each segment.
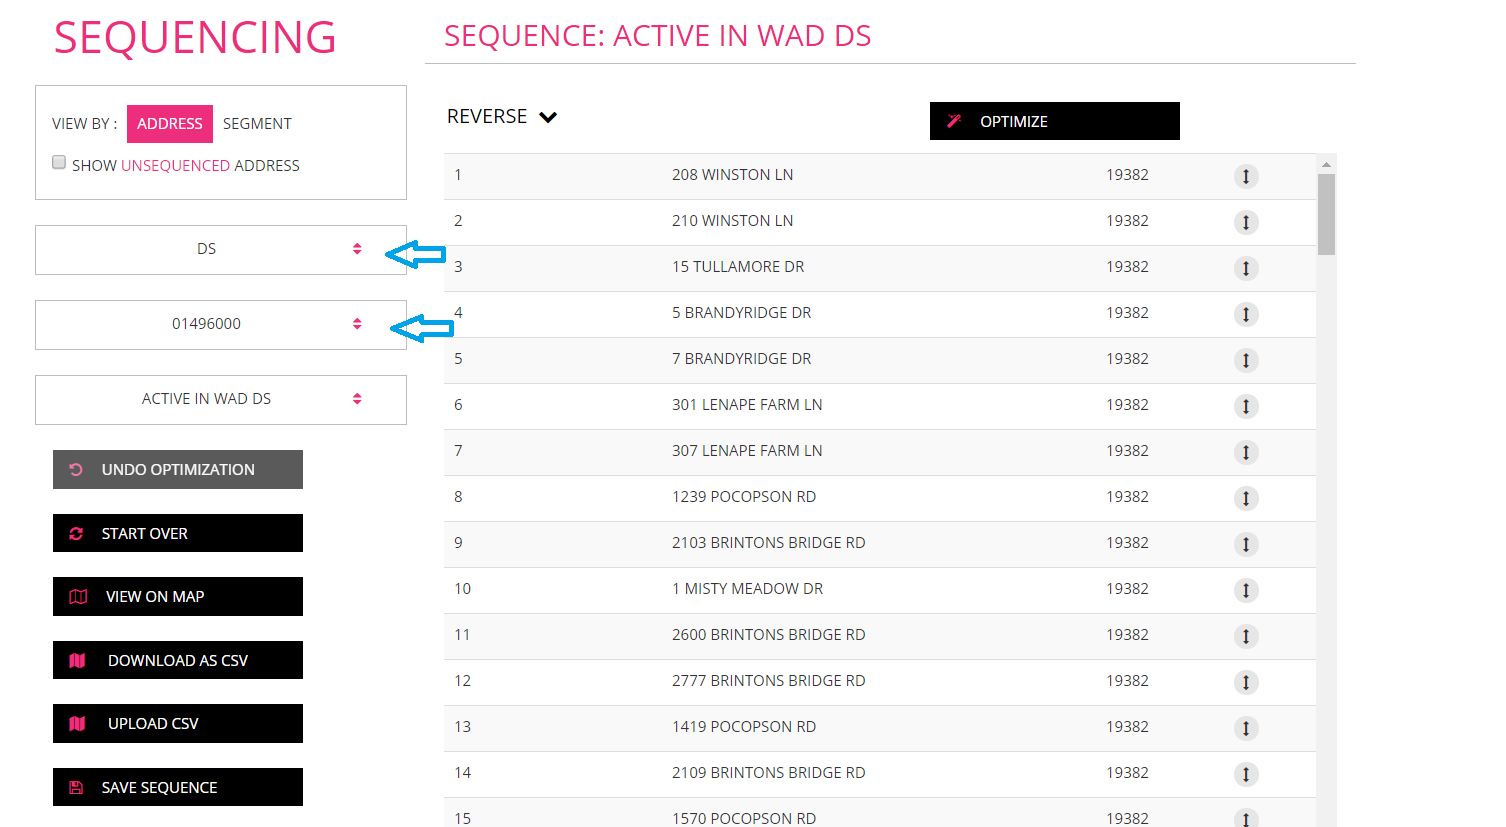
Sequencing By Address:
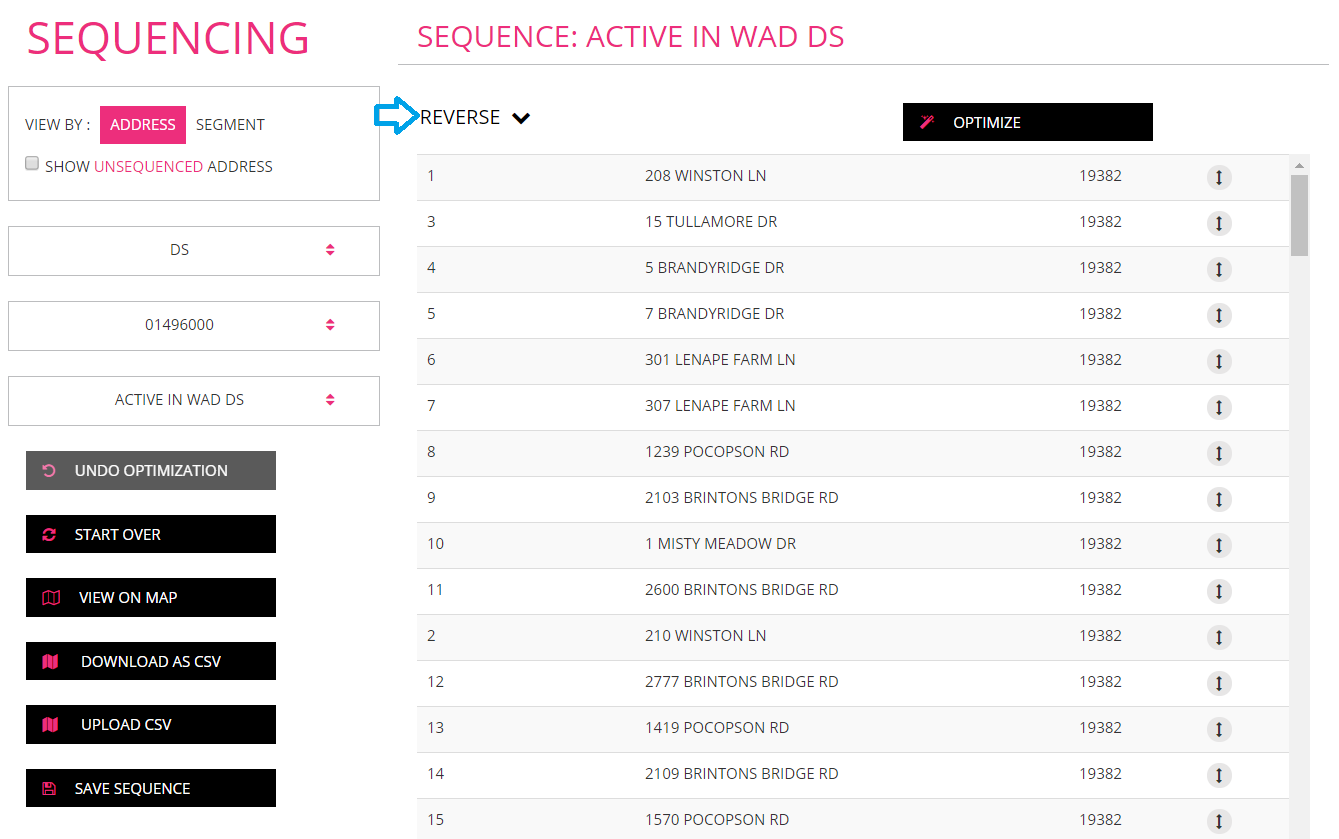
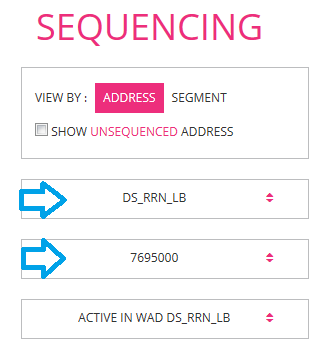
For this example, we’ll start with Address. Next, you’ll want to choose the WAD you’re working with. It should be DS in most cases. Next select which route you want to sequence. Doing this will call up all of the addresses for this route on the right side of the screen.
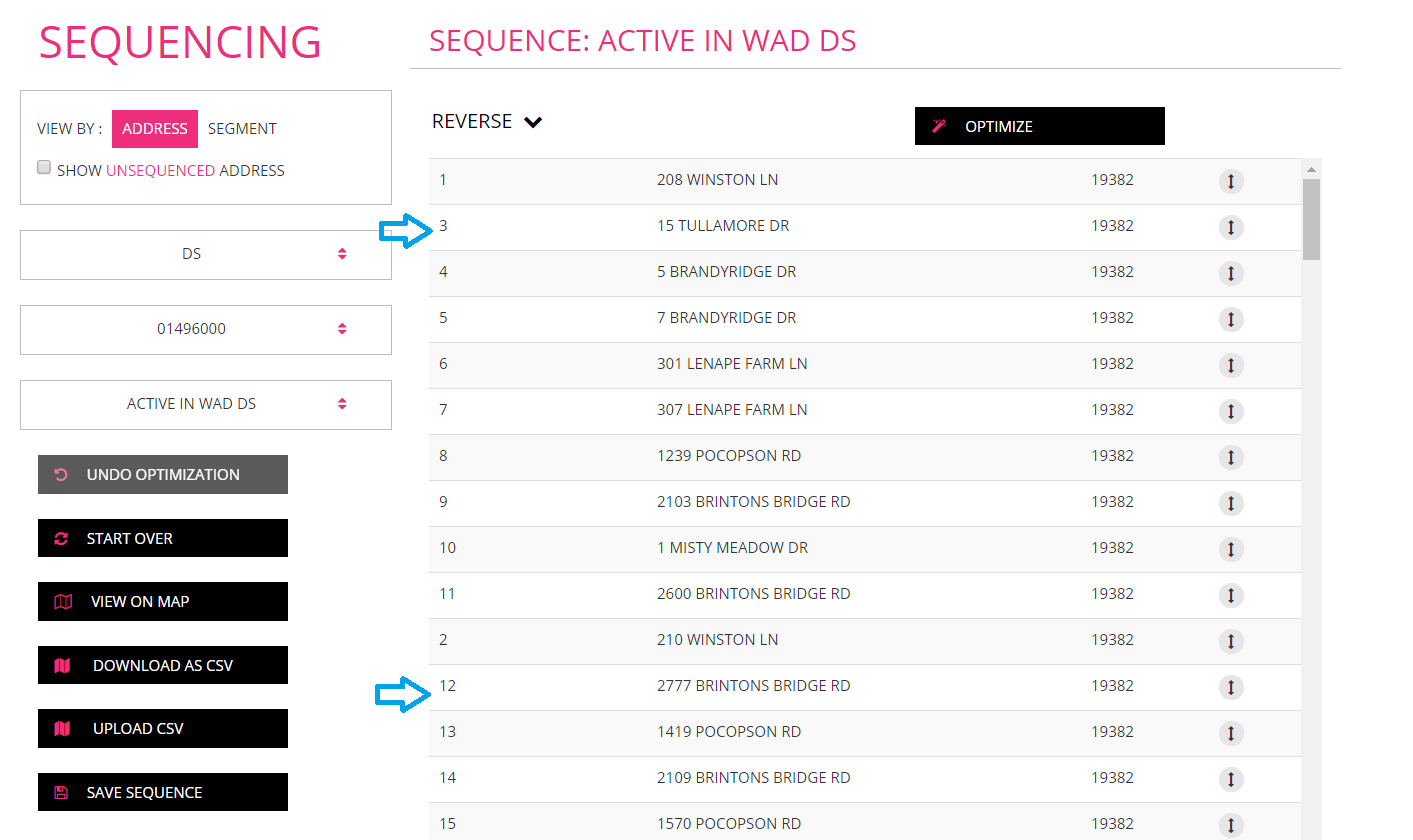
To change the sequence order, you can drag an address up and down on the right hand side to move its place in the sequence order. In this example, we moved line #2 down to line # 12.
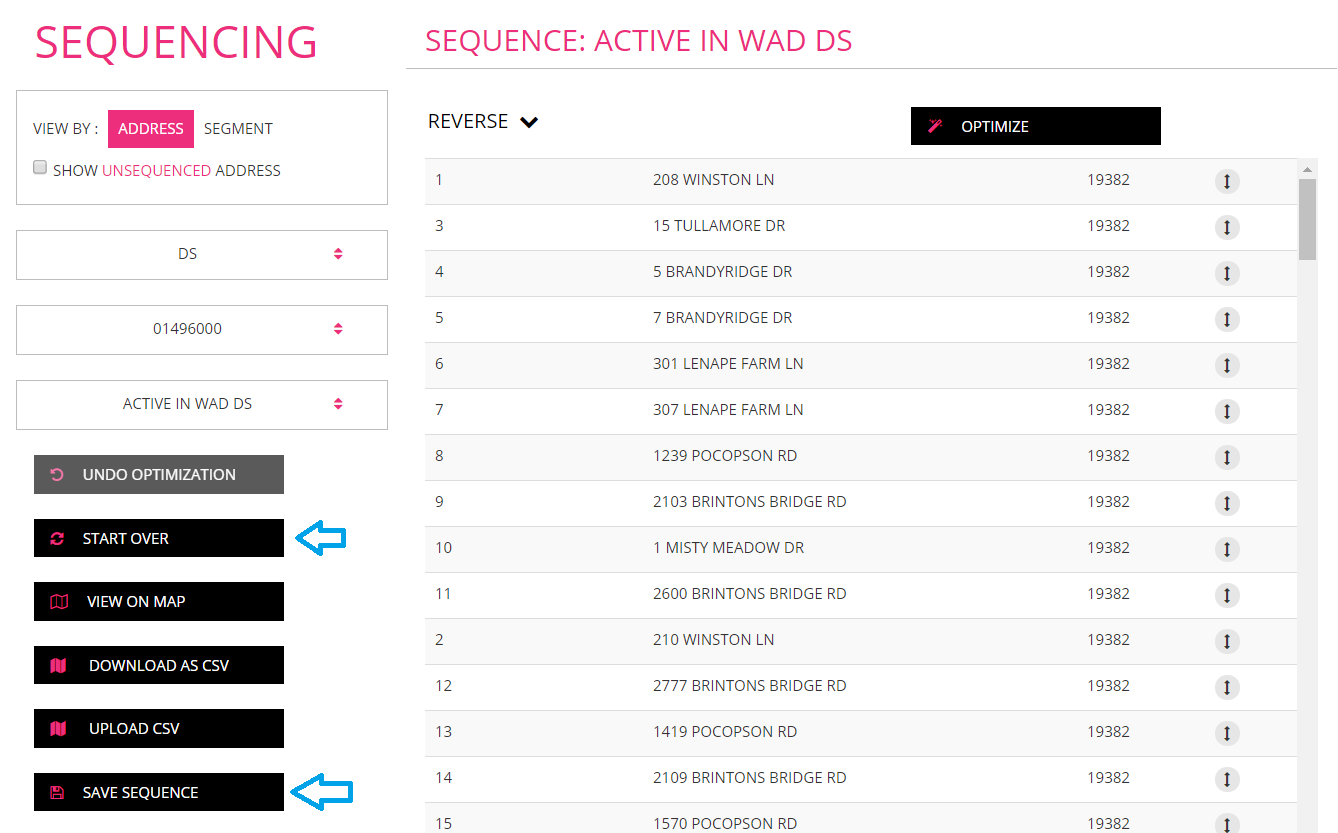
If you have made a mistake and want to start over you can choose to start over. If you are satisfied with the changes select save sequence.
You can also keep your existing sequence and reverse the order. By clicking this button, your entire route will reverse the order of sequencing on the route.
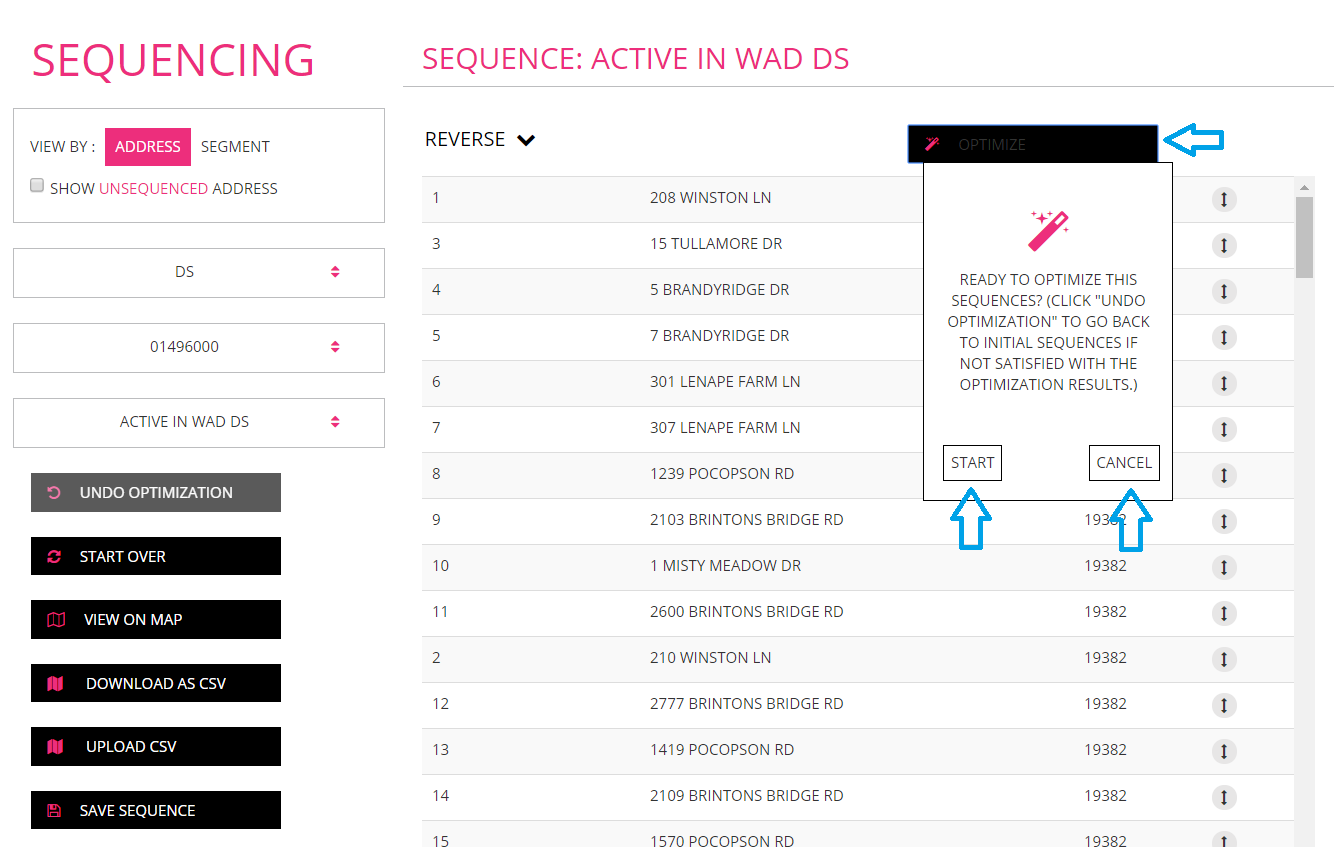
If you are looking to re-sequence the entire route and optimize it completely, you can click on the Optimize button on the top right. You’ll be presented with the options of Start and Cancel.
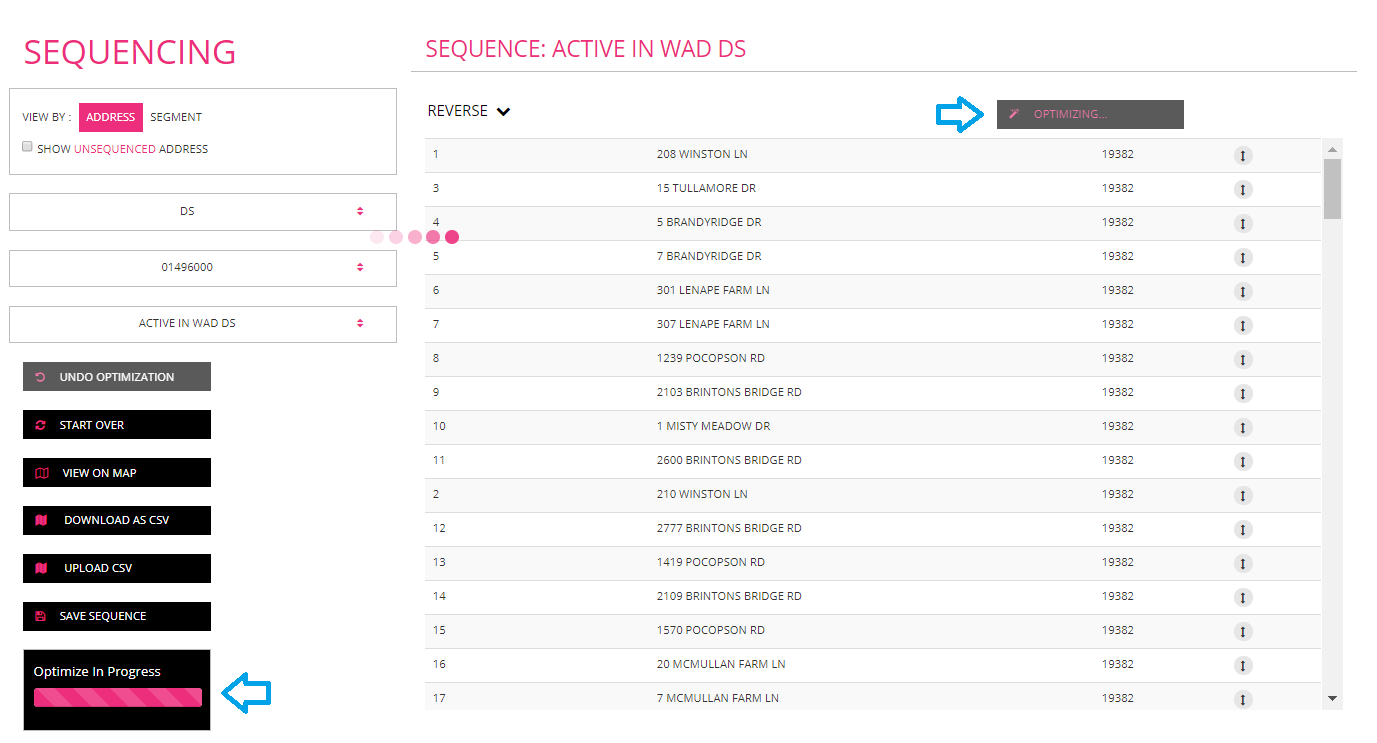
Optimization can take up to 10 minutes depending on the size of the route. Click on Start and the system will begin optimizing the route.
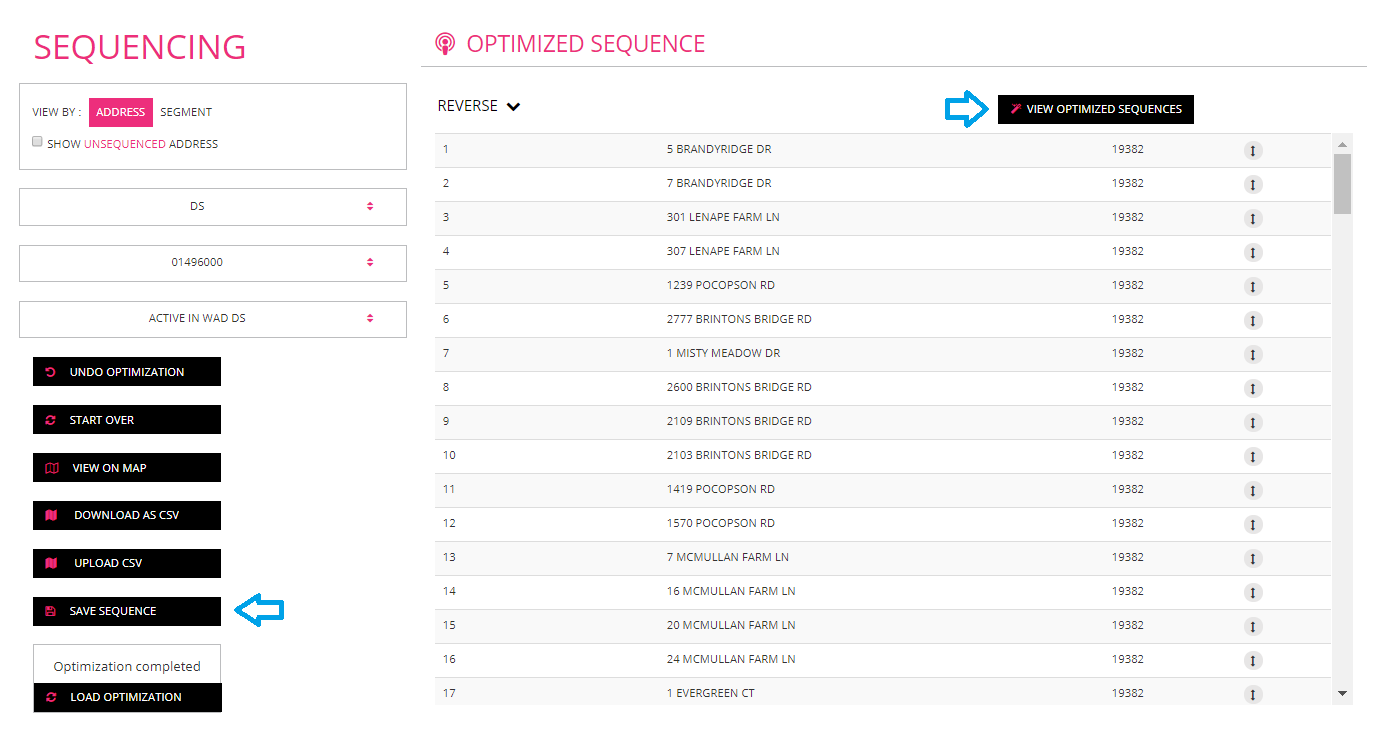
When it is finished optimizing click on the view optimized sequences. You can then make some more changes if needed. When you are finished with sequencing a route and ready to move on to the next, it’s important that you save your work before moving on to the next route. Save your work by clicking on the Save Sequence button on the bottom left.
Sequencing By Street Segment:
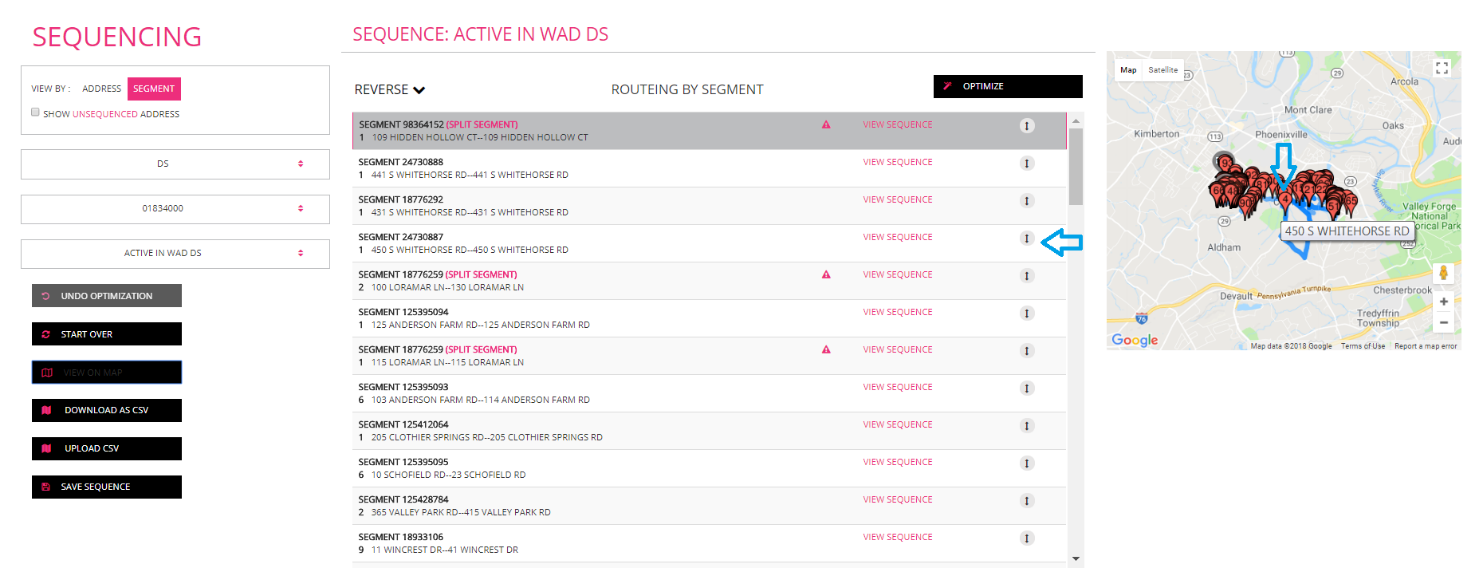
For this example, we show Sequencing by Street Segment. Select the option for Segment. Next, you’ll want to choose the WAD you’re working with. It should be DS in most cases. Next select which route you want to sequence. Doing this will call up all of the Street Segments and subscribers within that street segment.
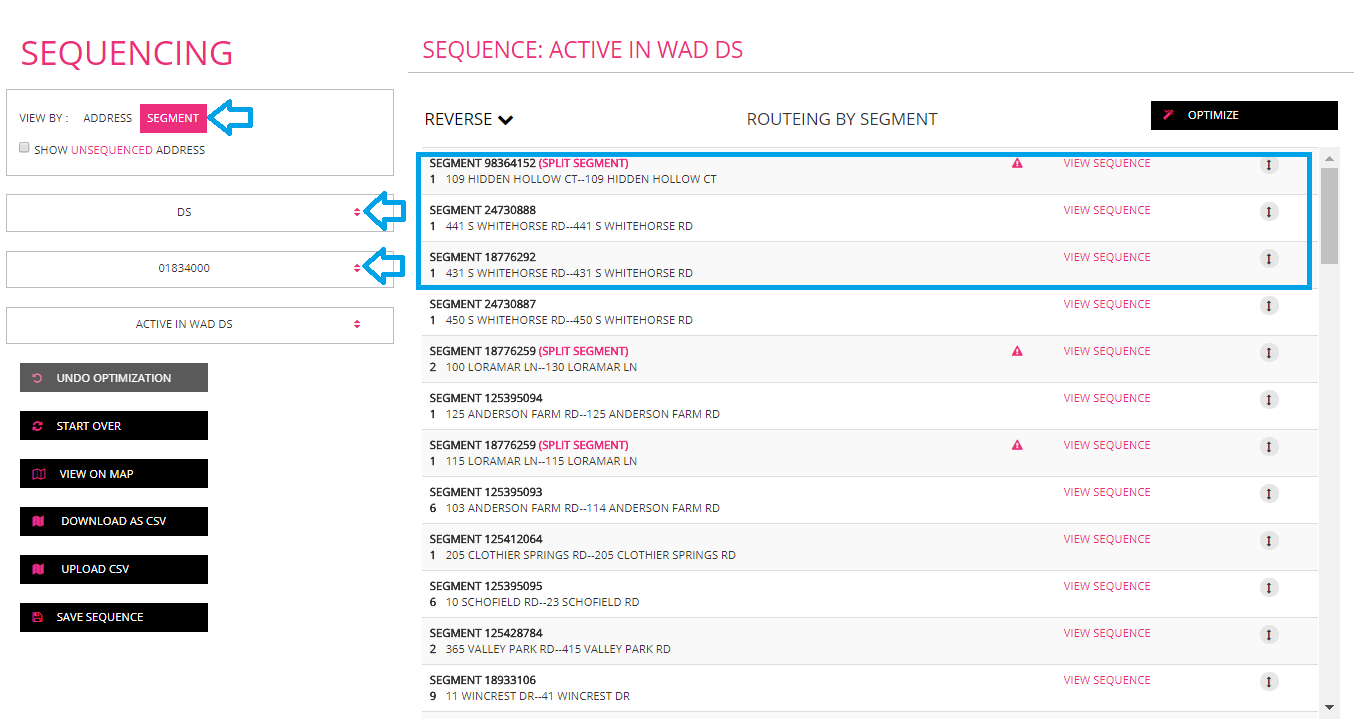
The segments for all streets will be listed. The first line will provide the segment id (8 digit number) and if it’s a split segment, you’ll see the words (split segment) listed. The second line will provide you with the street address and the low and high range for that segment.

You can drag and drop the entire segment to change the sequence order. You can also view the addresses within each segment by clicking on “View Sequence”.

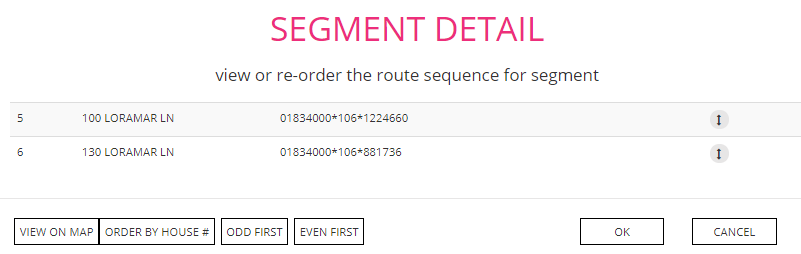
Clicking on view sequence will open a box showing all addresses within that segment. In here, you can drag and drop the addresses to change the sequence order. You can also use the boxes on the bottom to list the houses by house #, by odd first or by even first. When finished, click OK or Cancel on the lower right.
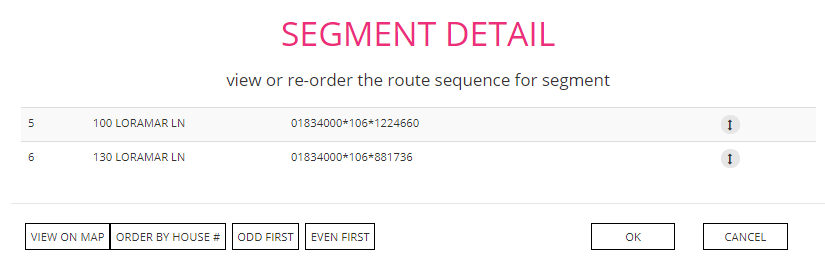
From the segment detail, you can click on view on map to see where the address falls on a map.
To go back to the previous screen click on the ESC button and it will bring you back to the Segment home page section.
To go back to the Sequencing home page click on cancel.

View on Map:
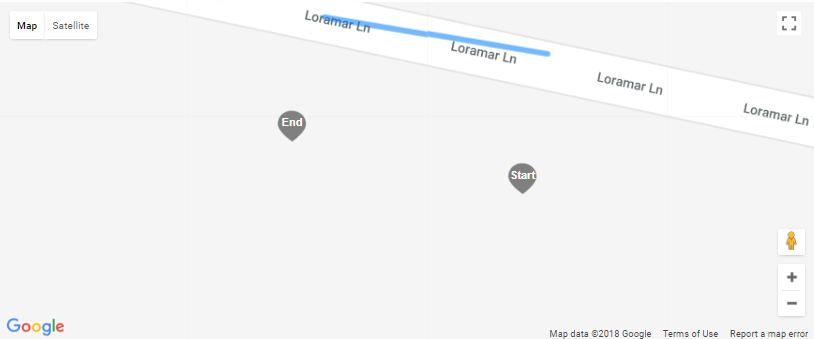
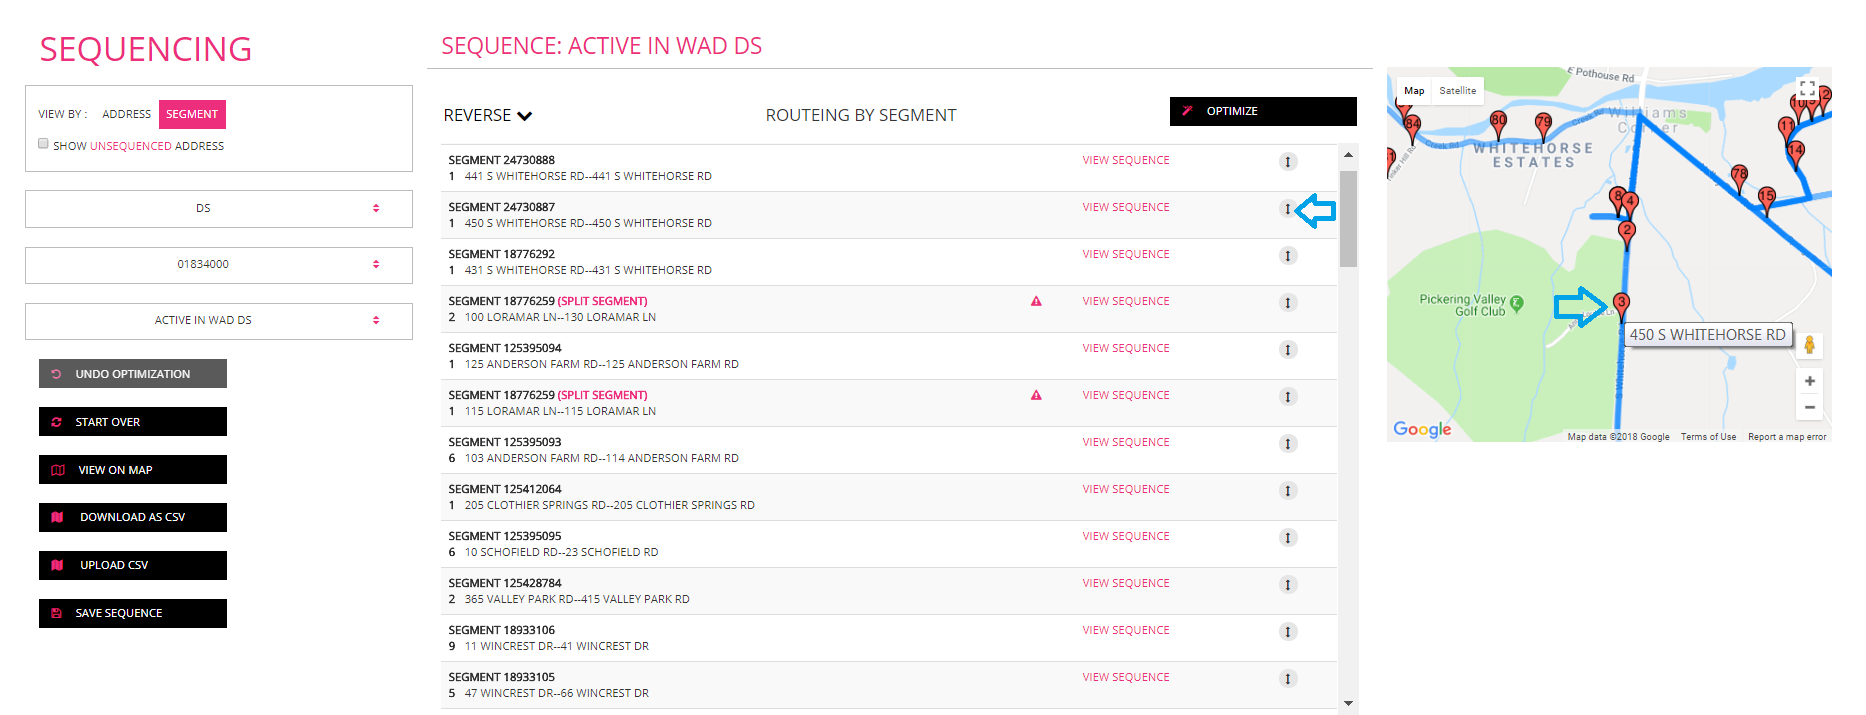
If you would like to see how the sequence looks on a map, choose the option, View on Map. You can zoom in and out and even change to street view.

If you hover over one of the pins, you will be able to see the address of the corresponding sequence number.
If you would like to see what your changes would like on the map before you save your work, simply move the address in the sequence field and then hit the View on map button again, you will see the new sequence value on the map.
Download As CSV:
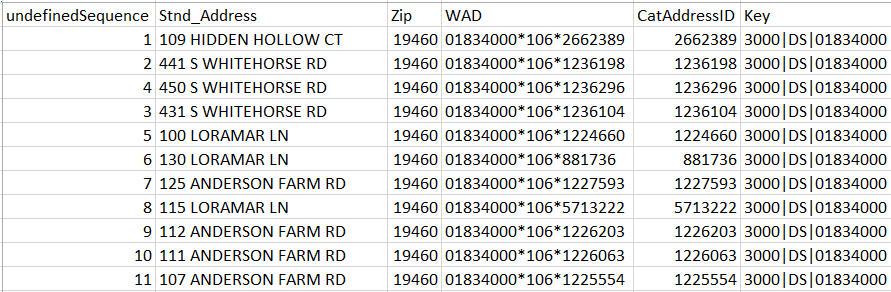
If you would like to download the sequence file and work on it in Excel, you have the option to download it as a CSV file.
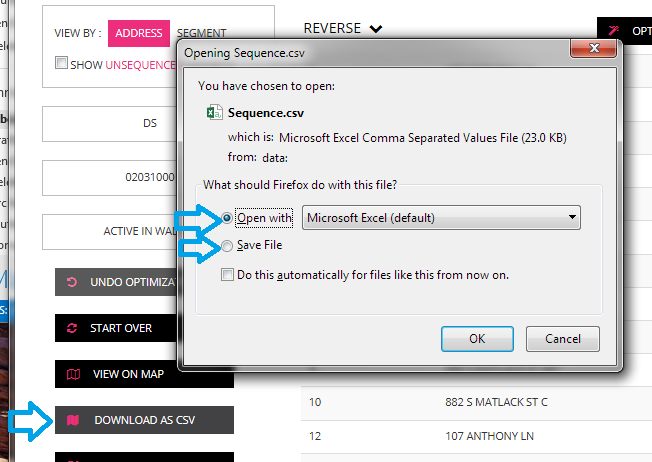
You can open the file or save it. Keep in mind that while working with CSV files there are some things that you need to be aware of. For examples leading zeros will disappear. It would be a good idea to save your work in excel then save it back to a CSV file. By doing this you will have 2 files which means one of them can be used as a backup file just in case something went wrong with the other file.
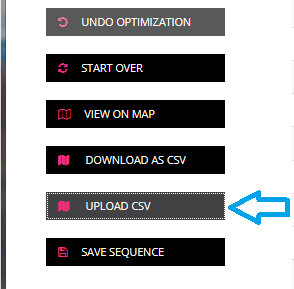
When you are done working on the sequence file save it as a CSV file type then you can load it back up by clicking on upload CSV. Keep in mind that by uploading the file this becomes the new sequence.
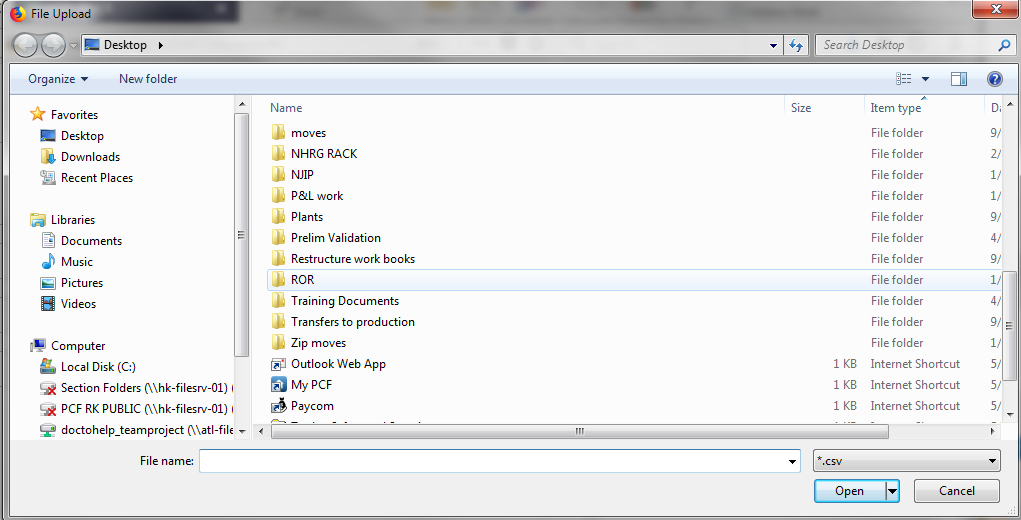
Then choose where you saved the file.
Saving Your Work:
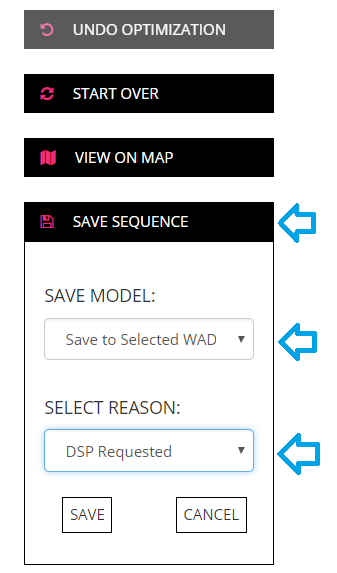
When you’re finished making changes to each route, you’ll want to save your work. On the lower left side of the screen, click on save sequence. This will give you a drop down box with options. If you want your changes to go directly to production, chose save to production. Then provide the reason. The reason can be just to optimize or it was requested by the delivery person. Finally, click save.
If you want to just save your work and not have it go to production, click on save to personal workspace. This will save your work so that you can edit it or move it to production at a later time.
Restore Sequence Feature:
DART will now allow you to restore sequences from a previous day.
Go to Route MGT < Sequencing < Sequences

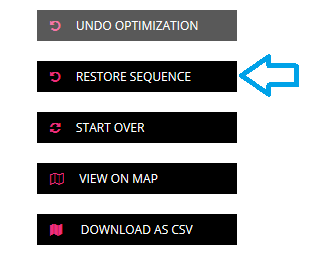
After landing there you will see the menu options of Restoring Sequence but it will be locked out initially. In order to activate this section, start the sequencing job just like you would have, by selecting your WAD and Route for the portion that you would like to restore and it will unlock “Restore Sequence”. The options go back up to 14 days. The best option would be to choose the last day that the sequencing was set correctly.
Choose the RESTORE SEQUENCE button.
A new RESTORE SEQUENCE box will pop up.
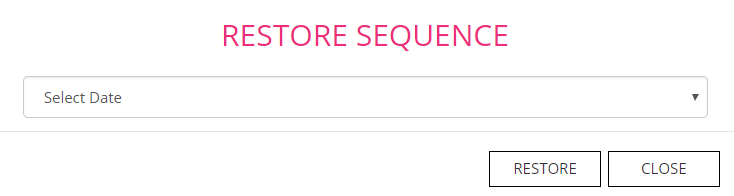
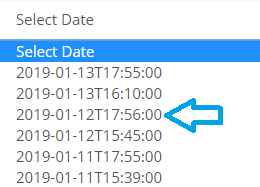
Use the drop down box to choose the date to restore the sequence back to.
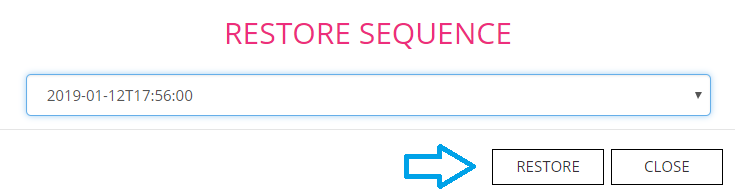
Once the date is chosen click on the restore button.
Once the sequence is restored a green box in the upper right corner will show up.
If any other tweaks need to be made they can be made now.
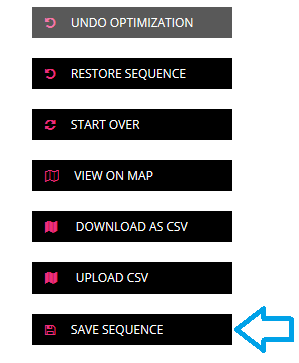
Just like any sequence change, the SAVE SEQUENCE button needs to be used to save that sequence.
When the Green Save success box pops up the sequence has been saved.